
Custom ROS messages for Object Detection
In today’s blog, Abhishek Shankar will show you how you can build custom ROS messages for object detection. Over to you, Abhishek..
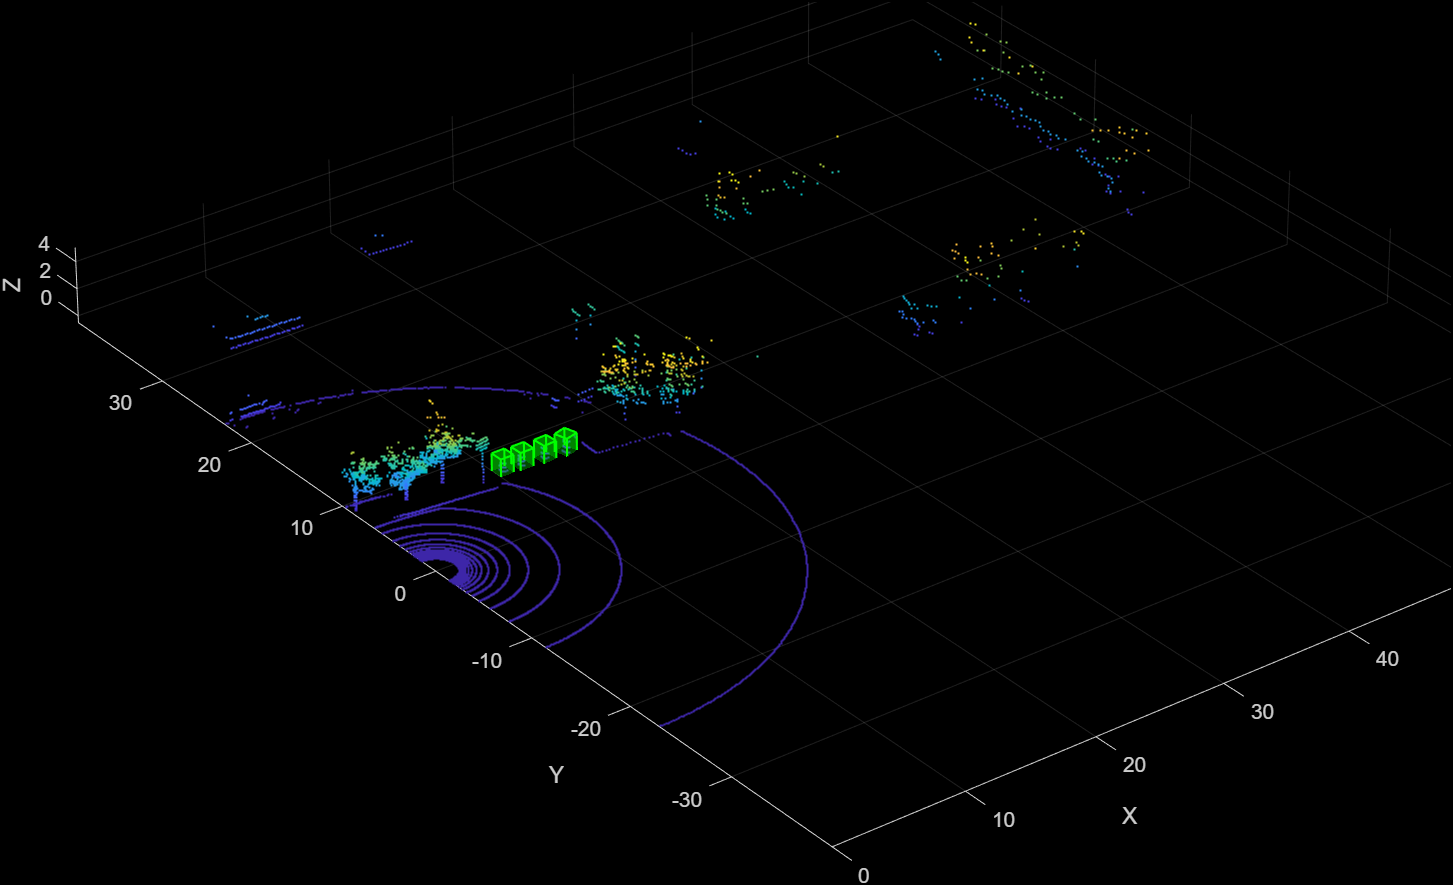
Deep learning has proven to be extremely useful in robotics, especially in perception, and the Robot Operating System (ROS) is a great framework that allows users to build independent nodes that communicate seamlessly with each other. Integrating an object detection model with ROS, however, can be tricky. The output from the model can be a single label with the associated bounding box or an array of bounding boxes and labels, which makes publishing these results over ROS challenging. This is where custom messages prove useful, as you can construct a suitable message type based on your application and in this blog, we will see how to make use of them. Shown below is an example of the results published over ROS

Custom ROS Messages
ROS provides a whole lot of message types required for various robotics tasks, but it is impossible to cover every use case. Custom messages allow you to design your own message for the problem you are working on, making it easy to adapt to your particular workflow. Generating a custom message in MATLAB is simple and takes only a few steps.
1. Folder structure
It is good practice to have all your custom messages under a single folder, so we’ll first create a folder called ‘custom_messages’ and inside that, create another folder ‘deep_learning’ which will have messages related to deep learning. Inside ‘deep_learning’ create a folder ‘msg’ which will have the required message files. You can follow this link to better understand the folder structure.
mkdir(‘custom_messages/deep_learning/msg’)
2. Creating messages
Typically, there will be multiple objects and their associated labels (string), bounding boxes (1×4 array) and scores (float32). To do this, we’ll create two message types:
- Prediction – This will have the label, bounding box and confidence (score) of the object that has the highest score
- PredArray – This will be an array of Prediction types which will have the scores, labels and bounding boxes of all the objects detected
The reason for having an array of Prediction messages is that it is simpler than using the Float32MultiArray datatype, that comes with ROS, to publish the bounding boxes of multiple detected objects. Creating these messages is simple and follows the general guidelines for custom message creation in ROS. First, we will create two files and name them Prediction.msg and PredArray.msg.
fid1 = fopen(“custom_messages/deep_learning/msg/Prediction.msg”, “wt”);
fid2 = fopen(“custom_messages/deep_learning/msg/PredArray.msg”, “wt”);
We’ll define Prediction.msg as shown below
string label
float32 confidence
float32[] bbox
str = [“string label”; “float32 confidence”; “float32[] bbox”];
fprintf(fid1, “%s\n”, str);
fclose(fid1);
And the PredArray.msg is defined as
uint8 count
deep_learning/Prediction[] PredArray
str2 = [“uint8 count”; “deep_learning/Prediction[] PredArray”];
fprintf(fid2, “%s\n”, str2);
fclose(fid2);
where count is the number of objects detected in an image.
3. Building the messages
Once the msg files are created, we’ll build them in MATLAB so that it shows up in the available list of ROS messages. To build the messages, go the ‘custom_messages’ folder level and pass in the folder name to rosgenmsg
rosgenmsg(‘custom_messages’)
This should bulid the messages and give us steps to use them, which is to add the generated messages to MATLAB path and refresh all message class definition as shown below. To check if the message has been added to the list of ROS messages you can run rosmsg list.
%Add the generated files to matlab path
addpath(‘C:\Users\abshanka\OneDrive – MathWorks\Documents\Blogs\ROS_custom_messages\custom_messages\matlab_msg_gen_ros1\win64\install\m’)
savepath
%Refresh message classes
clear
rehash toolboxcache
ROS Setup
Before we go into the deep learning part, we’ll first set up our MATLAB ROS environment variables to connect to the ROS master. If you would like to know more about ROS, check out this online tutorial.
% ROS master is set to the IP address of the machine that has the master
% running and ROS_HOSTNAME is the IP address of the machine running MATLAB.
setenv(“ROS_MASTER_URI”, “http://172.31.204.32:11311”)
setenv(“ROS_HOSTNAME”, “172.31.204.224”)
% Call rosinit to establish a connection if it is not done so already
if ~ros.internal.Global.isNodeActive
rosinit
end
Model Prediction
Now that the custom messages have been created and a ROS connection established, let’s move to the deep learning part! In this blog, we’ll use a pretrained YOLOv4 network (you can get this by installing ‘Computer Vision Toolbox Model for YOLO v4 ‘ from the Add-Ons library) and use a test image of a city scene. Let’s first load the network and assign it to a variable.
if ~exist(‘detector’, ‘var’)
detector = yolov4ObjectDetector();
end
The model expects an image of size 608×608 so we’ll load the image and resize it appropriately and have a look at it.
img = imread(“test.jpeg”);
img = imresize(img, [608, 608]);
imshow(img)

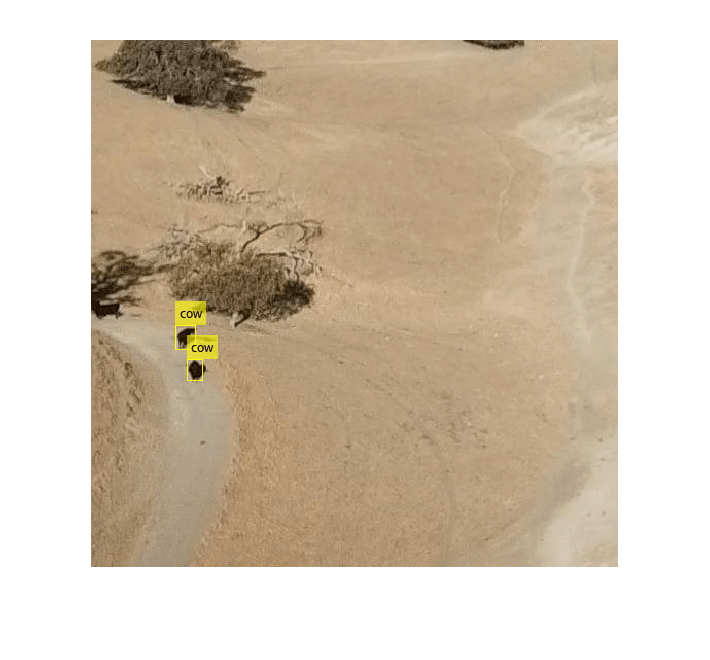
The image here shows a snapshot of what looks to be a busy street with a lot happening. Now let’s see if the model can detect the various objects in the scene!
% Thresholding detections with a score >= 0.6
[bboxes,scores,labels] = detect(detector, img, ‘Threshold’, 0.6);
% insertObjectAnnotations adds the detected bounding boxes and labels to
% the originial image
annotatedImg = insertObjectAnnotation(img, ‘rectangle’, bboxes, labels);
imshow(annotatedImg)

Great! We’re able to detect most of the objects in the scene. You can of course play with the threshold or fine tune the network to detect more objects but for now this should do fine. Now let’s send these results as ROS topics.
Publishing over ROS
We’ll start by defining the publishers and creating placeholder messages. Let’s have the topics as best_detection and all_detections. We’ll publish the object with highest score or confidence on best_detection and send all of the detected objects on all_detections
%Define publishers using the message type built above
bestPub = rospublisher(“/best_detection”, “deep_learning/Prediction”, “DataFormat”, “struct”);
allPub = rospublisher(“/all_detections”, “deep_learning/PredArray”, “DataFormat”, “struct”);
%Create placeholder messages
bestMsg = rosmessage(bestPub);
allMsg = rosmessage(allPub);
Now all that is remaining is to populate the messages with the respective data and publish them in a loop over ROS!
% Using an infinite loop here to continously send the ros messages
while(1)
% Get the object with the highest score to be sent over ‘best_detection’
[~,idx] = max(scores);
% Update the fields of bestMsg
bestMsg.Label = char(labels(idx));
bestMsg.Confidence = scores(idx);
bestMsg.Bbox = single(bboxes(idx,:)’);
% Get the number of detections and loop over them to update the fields
% of allMsg
n = length(scores);
allMsg.Count = uint8(n);
for i = 1:n
allMsg.PredArray_(i).Label = char(labels(i));
allMsg.PredArray_(i).Confidence = scores(i);
allMsg.PredArray_(i).Bbox = single(bboxes(i, :)’);
end
%publish the messages
send(bestPub, bestMsg);
send(allPub, allMsg);
end
That should do it! Now the topics should be visible on your ROS master PC as shown below (A subset of the 17 objects detected). Note that to view these topics you must build the messages on ROS as well which can be done following this workflow.

The example taken here is a simple one where a static image is used to demonstrate publishing the detection results. This can be modified to read an image from a ROS subscriber object easily with rossubscriber to make it more dynamic. You can find more on handling custom messages in MATLAB here and check out our perception series to know how you can utilize deep learning for your robot!


评论
要发表评论,请点击 此处 登录到您的 MathWorks 帐户或创建一个新帐户。