Read the Room – Hacks for the Virtual Classroom
This past year has brought about some fundamental changes in the way education is imparted – video calls, online group projects, funky virtual backgrounds, not being able to catch up on that extra sleep because you spent the previous night watching cat videos on YouTube, to name a few. In today’s post, I am pleased to introduce the overall winners of IEEE of University of Toronto’s NewHacks 2020. NewHacks is an official Major League Hacking (MLH) event targeted towards participants with little or no hacking experience. The theme at the hackathon this year was Digital Education and Life Convenience. Our guest bloggers – Mark Halka, Emily Chen, Minnie Menezes, and Alaa Hatoum will talk about their digital education hack designed to help educators and students improve their experience in the virtual, socially distant classroom of 2020/2021, over to our guests…

—
Online education has become an increasingly important topic in the wake of COVID-19. It was our team’s mission to help solve some key issues with this new shift towards online learning.
Inspiration
Have you ever been in an online lecture and became lost or confused about what the instructor was saying? Traditionally, instructors could look around the classroom and gauge how the class feels about the presented material. For example, the instructor may notice if students are confused and change their presentation on the fly, perhaps explaining a concept in a little more detail or perhaps not explaining a concept if they notice most people understand. This process is called “reading the room” and this is the concept which we aim to bring into online education. The problem is clear, a professor simply cannot look at over 50 tiny screens (on a Zoom call for example) to perceive how their class feels about the material in the same way they would in a real-life classroom.
Breaking down the problem
Our idea was to use computer vision and machine learning techniques to figure out how each student feels about the material, then convey that information in an easy-to-understand format for the instructor. We do this by passing each student’s video feed first to a computer vision algorithm to identify faces and then use the extracted features to a machine learning algorithm, which can use their facial expressions to figure out if they are engaged or not. It then calculates the percentage of the class that is engaged and presents that information in a variety of easy to understand plots to the instructor.
How did we implement it?
We decided to implement the machine learning algorithm using MATLAB and create the front end in Unity. All the members of our team, including Emily, who implemented the machine learning algorithm, had very little experience with MATLAB. However, we found the MATLAB toolboxes to be very easy to understand and use. Within a few hours, we already had a fully working prototype. The toolboxes allowed us to think about the problem at a higher level, instead of worrying about the nitty-gritty of each machine learning algorithm. Below we introduce some key lines of code we used in our algorithm, as well as the toolboxes we used should anyone wish to experiment around with them.
Using the Deep Learning Toolbox, we selected a pre-trained model called Squeeze Net and modified its layers and parameters a bit to fit the needs of our data. We then fed the network our dataset – lots of images of faces that were labelled “distracted” or “focused” – and the network taught itself how to distinguish between two. Once the network has finished training, we exported it as an ONNX file/net so it can be reused, and we imported it to our main script using the first line of the code shown below.
% Importing a pre-trained network from the Deep Learning Toolbox is that easy!
trainedNetwork_1 = importONNXNetwork(“trainedNetwork_1.onnx”, …
‘OutputLayerType’, ‘classification’, “Classes”, [“Distracted” “Focused”]);
% Create the face detector object.
faceDetector = vision.CascadeObjectDetector();
% Here we’ve omitted the code that finds and detects a face but we have attached the link
% that helped us in implementing this feature
web(‘https://www.mathworks.com/help/vision/ug/face-detection-and-tracking-using-the-klt-algorithm.html’);
% We capture the face in videoFrame
I = videoFrame;
I = imresize(I, [227 227]);
% We do a simple classification using our trained network
[YPred,probs] = classify(trainedNetwork_1,I);
label = YPred;
Being a virtual hackathon, coordination and teamwork was perhaps more important, as well as more difficult, than ever. While Emily was busy adding the final touches to the machine learning algorithm, Mark was working on the front end in unity, and Alaa and Minnie were creating the slides, script, and video for the final presentation. This, however, was only the final part of the hackathon. The first part of the day involved heavy research into different methods of image processing through MATLAB by all team members and exploration of the toolboxes at our disposal. Thankfully, Emily was able to find toolboxes – Deep Learning Toolbox and Computer Vision Toolbox which worked best for our situation.
However, there was the issue of having the correct dataset for the training of the code. Alaa and Minnie took it upon themselves to find a data set well suited for our situation. After a few hours of research and reaching out to research institutions that have access to data sets of faces looking in different directions, they were able to find an extremely effective and useful dataset that we used to train the system. We had our discord group chat, where we were constantly communicating and helping each other solve problems. One of the most important problems we had to deal with was how to connect the MATLAB algorithm with the Unity frontend. Thankfully, this was an easy and painless process, thanks to MATLAB’s Instrument Control Toolbox. Below we show how this was achieved.
First, we start with the MATLAB code:
% we begin by setting up a TCP client for the MATLAB program
clc
tcpipClient = tcpip(‘127.0.0.1’,55001,‘NetworkRole’,‘Client’);
set(tcpipClient,‘Timeout’,30);
% Here, we omit the part where we capture the video frame
% and make the prediction on whether the student is focused or not
% here we send the prediction to a server in Unity
fopen(tcpipClient);
a=title;
fwrite(tcpipClient,a);
fclose(tcpipClient);
On the Unity side, we create a server that reads the messages from MATLAB
// We begin by creating a TCP server
listener = new TcpListener(55001);
listener.Start();
// The Update method runs many times a second and listens for new messages from MATLAB
void Update()
{
// We check if there is a new message or not from MATLAB
if (!listener.Pending())
{
}
else
{
// If there is a message, we read it
TcpClient client = listener.AcceptTcpClient();
NetworkStream ns = client.GetStream();
StreamReader reader = new StreamReader(ns);
msg = reader.ReadToEnd();
}
// we check if the message indicates that the student is distracted or not
if (msg.Contains(“Distracted”))
{
// here we do some additional logic and processing, and update the graphs for the professor.
}
After this was completed, all that was left was testing, a few improvements here and there, and then the submission (and some much-needed sleep).
Results
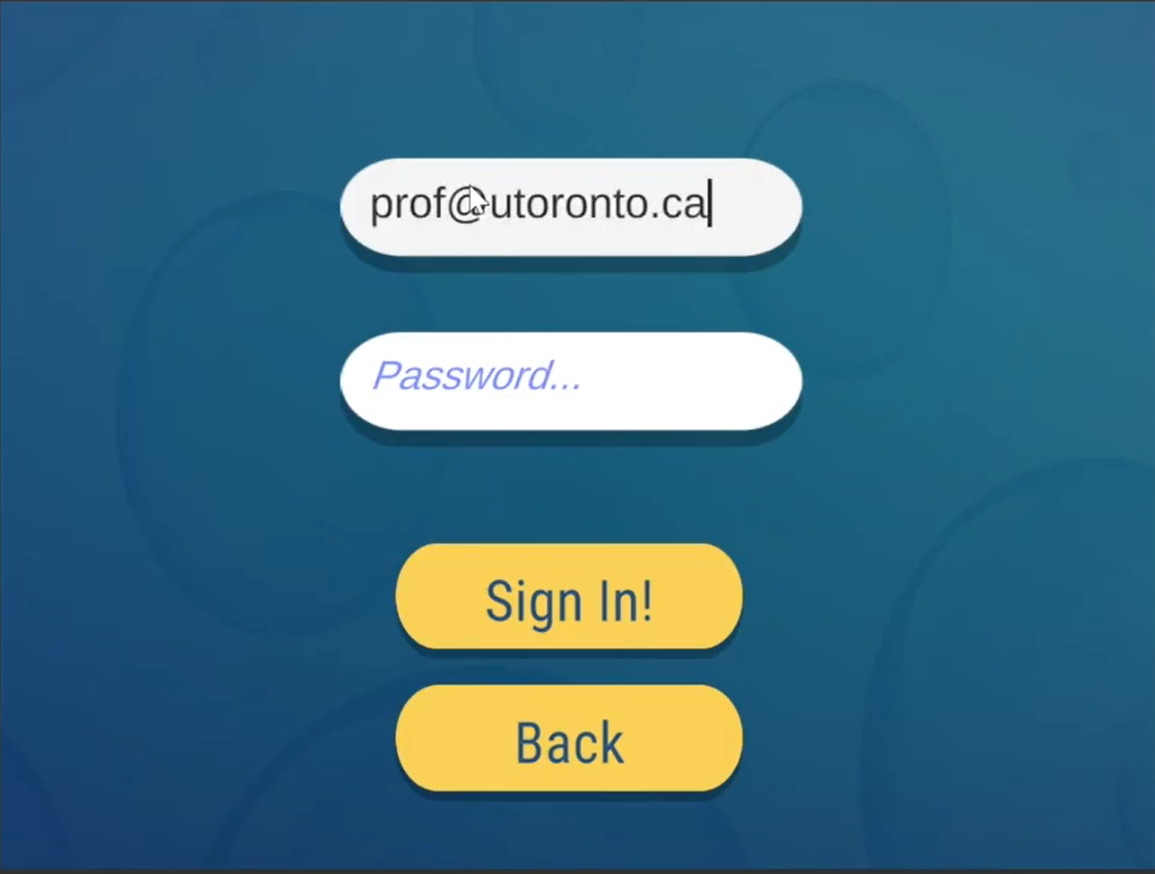
Let’s take a quick look at how a user would use our app. First, they would log in.
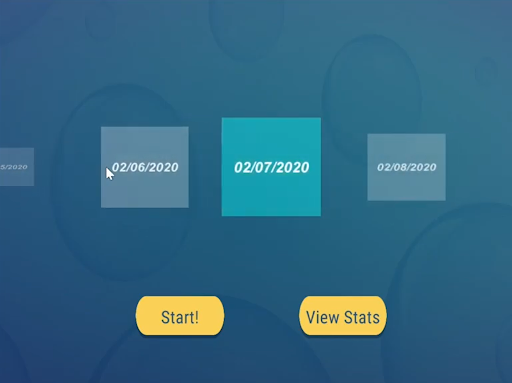
Next, they have the option of viewing past recorded lectures. This allows the user to learn how to improve their lessons. For example, if a professor notices that for all of his classes, they become confused during his explanation of a certain concept, he can revise how he explains that concept, or explain it in more detail for future lessons. Or for example, if he notices that his class becomes bored after about 2 hours, he may choose to shorten his lectures.
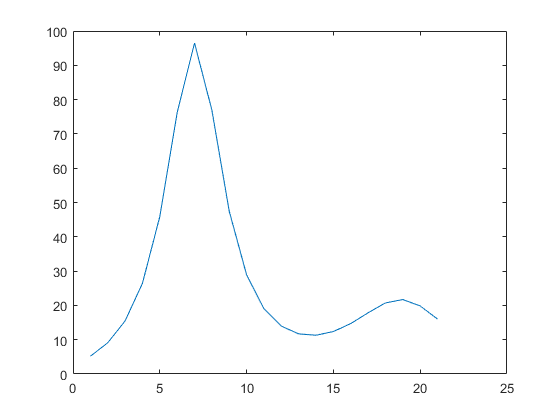
Otherwise, he can start a new lecture. First, he opens zoom, or any other video messaging app. Next, he starts our application. Then, our application will analyze the faces of each student, and visually show that information to the professor, for example in the graph below.
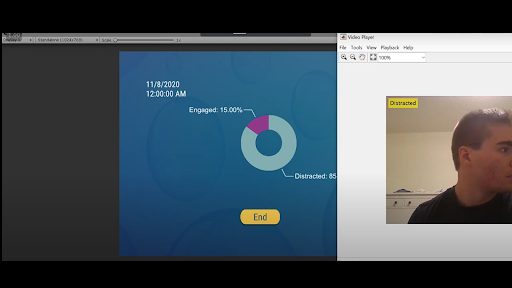
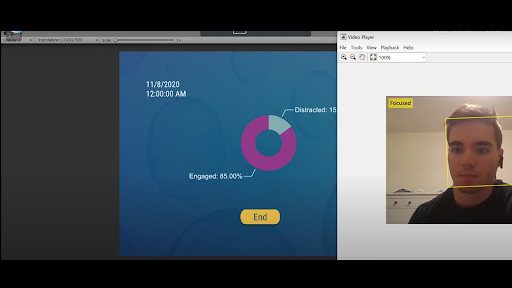
We found the accuracy of our MATLAB model to be very high, and it could accurately tell when a student was engaged or not. The TCP interface between MATLAB and Unity also worked flawlessly, allowing the app to update multiple times a second, to provide instant feedback.
Key Takeaways
Overall, the experience was very fun. It was surprisingly easy to work with and use MATLAB for deep-learning purposes. Despite our intuition of using Python, MATLAB proved to be just as capable and easy to learn. A bonus was their collection of toolboxes, which allowed us to easily add only the features we wanted. Below are a few of our ideas for future improvements and features:
- Adding detection for more facial features (such as confused, bored, or excited).
- This could be done by training the model on a larger dataset, that contains emotions with all these labels.
- Saving the classes current information every few seconds, so the professor could rewatch their lectures, and determine at what point students became confused, to improve for future lectures.
- This could be done by simply saving the current percentage of students who are distracted or engaged along with a timestamp to a CSV file (or any other format).
- Adding the ability to track each student’s level of distraction over multiple lectures, allowing the professor to reach out to specific students that need help.
- This could be done by adding a facial recognition algorithm, which creates a separate file for each student, and keeps track of how distracted/engaged they are during each lesson.
- This could also be used to create an attendance list for each lecture.
We hope you enjoyed our blog, if you have any questions or comments, please feel free to reach out to us! You can also check out our devpost submission here
- Category:
- Data Science,
- Hackathons,
- MATLAB




Comments
To leave a comment, please click here to sign in to your MathWorks Account or create a new one.