Controlling RGB LED via Potentiometer Using Arduino and MATLAB
I'd like to introduce this week's guest blogger Ankit Desai. Ankit works for the Test & Measurement team here at The MathWorks. Ankit has previously written about transferring data between two computers using MATLAB. In this post he will talk about using MATLAB Support Package for Arduino.
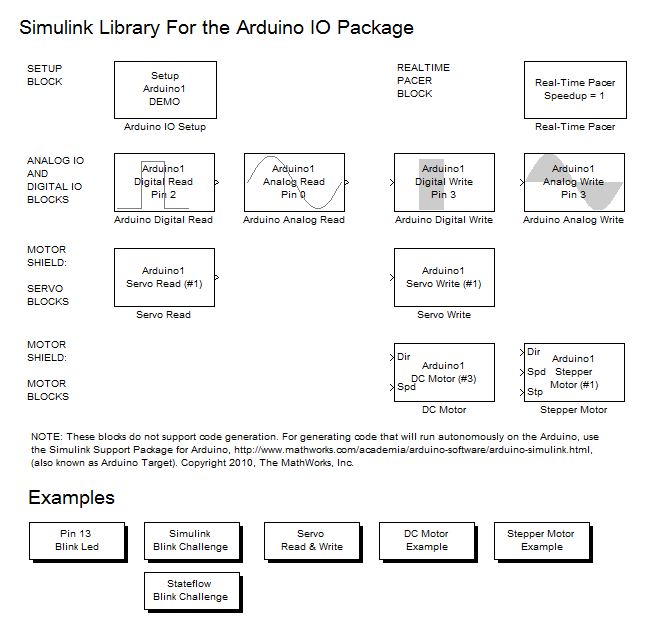
Arduino is rapidly growing as a prototyping platform for students, hobbyists and engineers. The MATLAB Support Package for Arduino allows you to work with Arduino boards, for example UNO and Duemilanove, and allows for interactive development and debugging. The support package works on all platforms supported by MATLAB and does not require any additional toolboxes.
MATLAB Support Package for Arduino uses the Serial Port interface in MATLAB for communication with the Arduino board.
I recently got my hands on the Arduino Inventor Kit from Sparkfun, and together with Onomitra Ghosh, decided to build a small project using the kit and MATLAB Support Package for Arduino. I decided to start with a simple project of controlling the color of an RGB LED via a potentiometer.
The entire project was divided into three phases:
- Setting up the Arduino and Breadboard
- Setting up MATLAB and Support Package
- Writing MATLAB Code
Contents
Setting up the Arduino and Breadboard
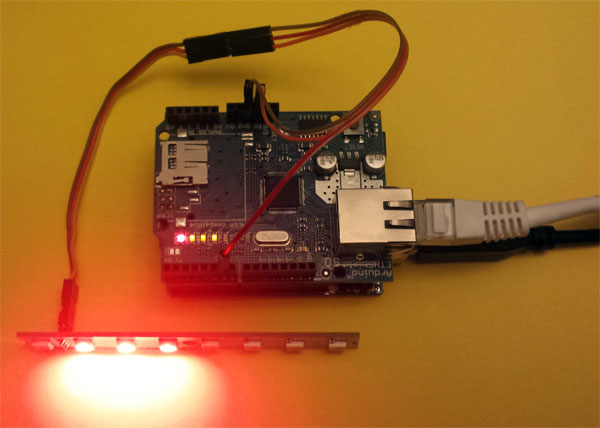
Depending on the platform you are working on, Arduino's website has a detailed set of instructions for setting up the Arduino IDE and connecting the Arduino board. Once the setup was complete, I worked on the breadboard to have the setup similar to CIRC-08 from the Sparkfun's Arduino Inventor Kit, except that I used an RGB LED instead of Green LED and hence instead of using just pin 9 - I used pins 9, 10 and 11.
At this stage the Arduino board and rest of the components were ready.
Setting up MATLAB and Support Package
MATLAB support package for Arduino comes with a server program adiosrv.pde that can be downloaded on the Arduino board. Once downloaded, the adiosrv.pde will:
- Wait and listen for MATLAB commands
- Upon receiving MATLAB command, execute and return the result
The steps I performed to write/download the server program to Arduino board were as following:
- Open Arduino IDE
- Select the adiosrv.pde file by navigating through File > Open in the IDE
- Click the Upload button
I was now ready to code in MATLAB.
Writing MATLAB Code
MATLAB support package for Arduino provides a very easy to use function set to perform basic operations like analog read, analog write, digital read and digital write.
For the purpose of this example, I followed the following sequence:
- Read a value from analog input pin 0, where I connected the potentiometer
- Calculate the intensity for R,G and B colors of the LED based on the value read
- Write calculated R, G and B intensity to analog output pins 9, 10 and 11
- Loop the sequence for predetermined amount of time
In MATLAB the above sequence looks like:
 % Connect to the board
 a = arduino('COM8');
a.pinMode(9,'output'); a.pinMode(10,'output'); a.pinMode(11,'output');
 % Start the timer now
 tic;
 while toc/60 < 1 % Run for 1 minute.
 % Read analog input from analog pin 0
 % The value returned is between 0 and 1023
     sensorValue = a.analogRead(0);
% For potentiometer value from 0 to 511, we will fade LED from red to
% green keeping blue at constant 0.
if 0 <= sensorValue && sensorValue < 512
greenIntensity = floor(sensorValue/2.0);
redIntensity = 255-greenIntensity;
blueIntensity = 0;
else
% For potentiometer value from 511 to 1023, we will fade LED from
% green to blue keeping red at constant 0.
blueIntensity = floor(sensorValue/2.0) - 256;
greenIntensity = 255 - blueIntensity;
redIntensity = 0;
end % Write the intensity to analog output pins
a.analogWrite(9,redIntensity);
a.analogWrite(10,greenIntensity);
a.analogWrite(11,blueIntensity);
end% Close session delete(a); clear a;
Conclusion
So why, you might ask, do I need MATLAB when I can just code it in Arduino IDE? The simple answer is - interactive development and debugging capabilities.
While working on this project, there were so many instances where I wanted to see the values returned from the potentiometer as I was turning the knob or quickly set the RGB value of the LED. Using the Arduino IDE, I would have updated the code, re-compiled it and uploaded the code to the board before I can see the updates in effect. With MATLAB support package, I was able to just tweak the settings on the fly without any extra step.
Make sure you check out the webinar: Learning Basic Mechatronics Concepts Using the Arduino Board and MATLAB, to learn more about Analog and Digital I/O as well as DC, Servo and Stepper motor control.
Have you used/wanted to use Arduino for any cool projects?


评论
要发表评论,请点击 此处 登录到您的 MathWorks 帐户或创建一个新帐户。