
The HDR Toolbox
Sebastian‘s pick this week is The HDR Toolbox by Francesco Banterle.
Sebastian is a Senior Customer Success Engineer at MathWorks’ Munich office.
Hello everyone,
My name is Sebastian and I work directly with our academic customers in research and teaching. As such, I have the pleasure to get to know many fascinating projects and meet interesting people. One of these projects is HDR Toolbox which was recently made available on File Exchange. However, the sources of the project have been growing since 2008.
With High Dynamic Range (HDR) imaging you can create spectacular scenes by combining multiple pictures of the same scene. The pictures are usually create using different exposure times, so they contain varying information. This information can be remapped to ensure that all areas of the output image are properly visible.
My first contact with this technology happened during my time as a researcher at the Institute of Image Processing and Computer Vision at RWTH Aachen University. My colleague Johannes had a research project in the area of Multispectral High Dynamic Range Imaging and I was naturally intrigued to look at the toolbox.
I used the GitHub link to download the toolbox and ran ‘installHDRToolbox.m’.
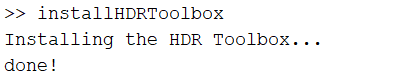
Installation went smoothly for me.
The toolbox comes with several demo files, so I changed into the ‘Demos’ directory and inspected the first example ‘demo_build_hdr.m’.
It uses the images in the ‘stack’ directory. You can view them with this code:
figure
for i = 0:5
    subplot(2,3,i+1)
    imshow(imread(['stack\stack_room_exp_' num2str(i) '.jpg']))
end
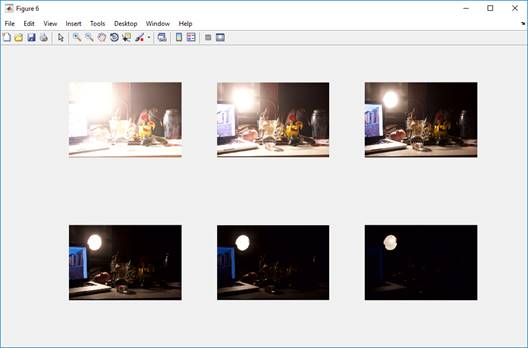
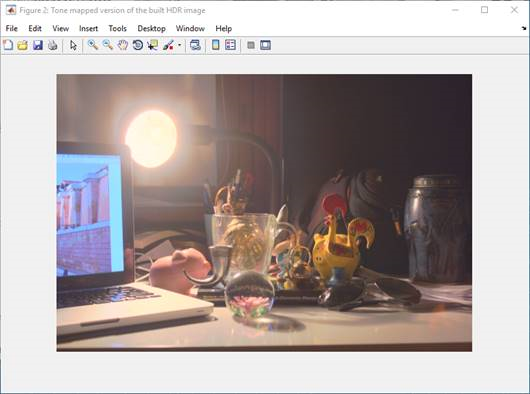
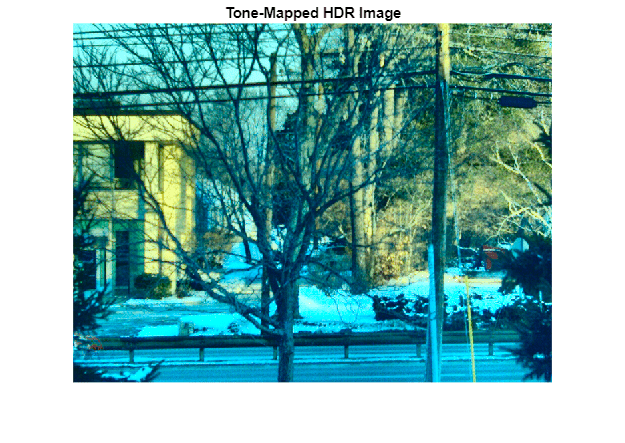
The result of script ‘demo_build_hdr.m’ clearly illustrates the combined information in the output image. A lot more details are visible than in any of the individual images.
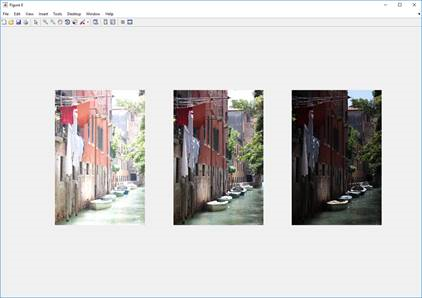
While creating the source images with different exposure settings, you might introduce another challenge which is illustrated in a different dataset.
I used a different dataset (‘stack alignment’) and created this image with the script ‘demo_build_hdr.m’.

Now, the HDR part seems to have worked, but this looks all blurry.
If you run:
figure

img1 = imread('stack_alignment\IMG_4211.jpg');
img2 = imread('stack_alignment\IMG_4209.jpg');
img3 = imread('stack_alignment\IMG_4210.jpg');

subplot(3,1,1)
imshow(img1)
subplot(3,1,2)
imshow(img2)
subplot(3,1,3)
imshow(img3)
you can take a look at the images.
So far, they do not clearly indicate the problem. If, however, you combine parts of them, you can see it clearly. (This is not directly similar to what would happen if you used the HDR algorithm, but it has the same challenges.)
figure

img_cmp = [img1(1:360,:,:); img2(361:720,:,:); img3(721:1080,:,:)];
imshow(img_cmp)

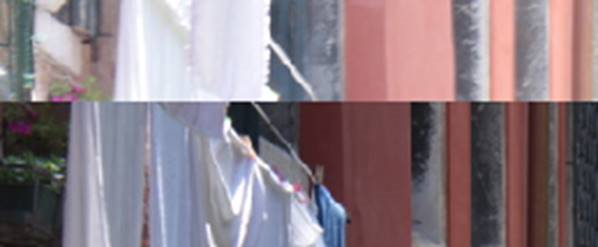
The images are not properly aligned. This will cause problems in the HDR algorithm. ‘demo_build_hdr_sift_alignment’ gives a
demonstration of how to use alignment with SIFT (Scale Invariant Feature Transform) to overcome this challenge. This requires the installation of vl_feat (http://www.vlfeat.org/).
So, running this, the output image is cleanly aligned and the HDR algorithm worked.

There are several other demos to give you additional insight. If you want to know more about HDR, you should check out the HDR Toolbox authors’ book “Advanced High Dynamic Range Imaging: Theory and Practice” which features the toolbox and a lot more information.
Or, you jump right in and try it. Why don’t you get your DSLR from the shelf and take a series of photos? I would love to hear from you how things are going.
In any case, have a lot of fun.
Sebastian
Comments
Give it a try and let us know what you think here or leave a comment for Francesco.
Published with MATLAB® R2018a
- カテゴリ:
- Picks


コメント
コメントを残すには、ここ をクリックして MathWorks アカウントにサインインするか新しい MathWorks アカウントを作成します。