Unifying MATLAB and Simulink: A User Story Part 2
In my previous post, I described how to parameterize a Simulink model using MATLAB objects. To be honest, there is nothing magic or revolutionary to that in itself. The reason why I decided to cover this topic in a series of posts is because of what this enables.
In this post, I am building the foundation of a framework that, in my opinion, makes it very convenient to discover and interact with a Simulink model.
Here are links to other posts in this series:
- Unifying MATLAB and Simulink: A User Story Part 1: Parameterizing a model with MATLAB objects
- Unifying MATLAB and Simulink: A User Story Part 2: The slPart class, block template and data variants
- Unifying MATLAB and Simulink: A User Story Part 3: Controlling variants with MATLAB objects
- Unifying MATLAB and Simulink: A User Story Part 4: Post-processing and visualizing logged data
- Unifying MATLAB and Simulink: A User Story Part 5: Larger examples
The Building Blocks
This framework will be centered around a fundamental unit I decided to call a Simulink Part or slPart for short. I use the word "part" because I like to think of this as the mechanical parts you can find on the shelves of a garage or a machine shop: gears, nuts, bolts, etc. Parts can be made of other parts, like a car is made of an engine, suspensions, and wheels, and like a suspension is made of springs and dampers.
The basic unit of this framework is built around two fundamental building blocks: a MATLAB class and a Simulink masked subsystem.
The superclass: slPart
Let's begin with the MATLAB class, which I will name slPart, as in Simulink Part.
This class allows me to define properties and methods common to all parts. I am making it a handle class, which allows both MATLAB code and Simulink blocks to refer to and interact with slPart objects back and forth.
Through this series of posts, I will incrementally add functionalities to this class, but as a starting point, here is what the slPart class looks like:
classdef slPart < handle
properties (Hidden = true)
BlockPath char
end
methods
function obj = maskInit(obj,blk)
obj.BlockPath = blk;
end
end
end
It has one property BlockPath, where I will store the path of the block where the object is being used and one method maskInit which, as its name implies, will be used for mask initialization.
The Template Block
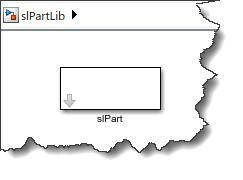
For the block, I created a "template" empty Subsystem and stored it in a library.
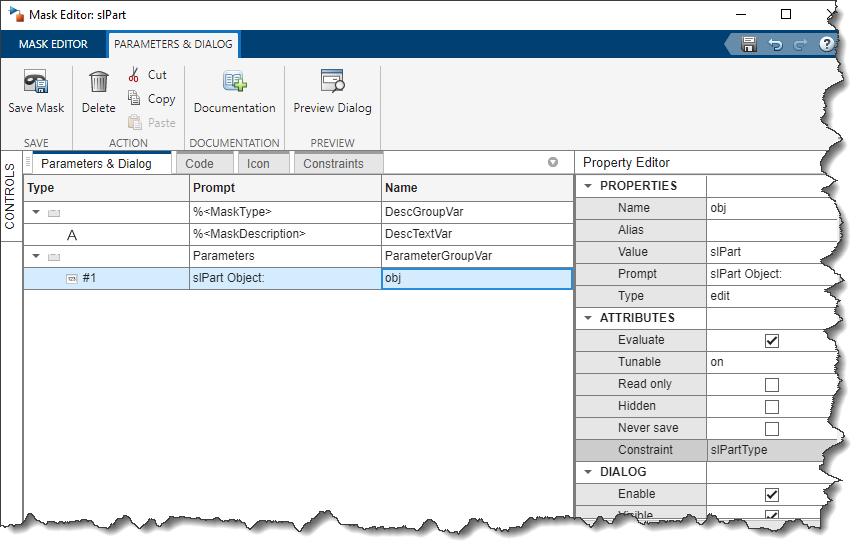
Using the Mask Editor, I defined one parameter named "obj":
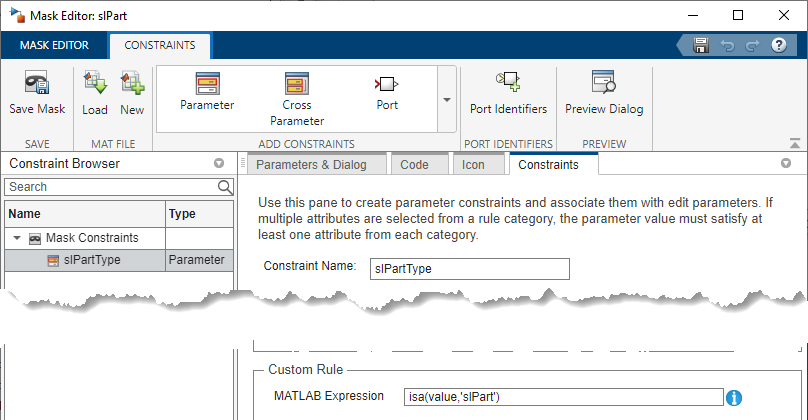
To make sure that only objects of class slPart are passed to this parameter, I created a Parameter Constraint.
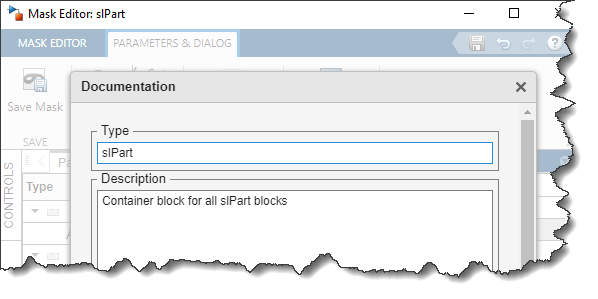
I set the Mask type to be "slPart" (This will help me find instances of this block in the future)
and I specify the maskInit method defined in slPart as Mask Initialization code:
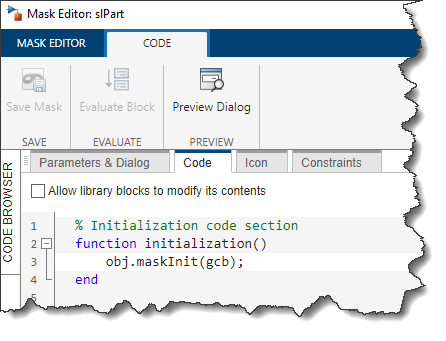
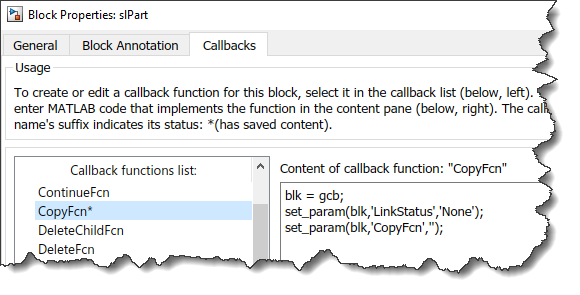
Finally, since I want users to edit blocks created from this template, I break the link to the library when I create a copy of this block. For that, I leverage the ClipboardFcn callback:
With that setup, I can copy this library block into a model and begin creating my first Simulink Part!
Creating a First slPart
For this first example, I will reuse the same spring class as in my previous post. The only difference is that it now subclasses slPart:
classdef spring < slPart
properties
m
k
c
end
methods
function obj = spring()
obj.m = 0.5;
obj.k = 5;
obj.c = 3;
end
end
end
For convenience, I stored this spring class in a package folder named +springLib. I will describe why below. For now this means that I will refer to this class as springLib.spring.
On the Simulink side, I drag a copy of the template block into a model, open the empty subsystem and implement my algorithm using the properties of "obj" as block parameters:
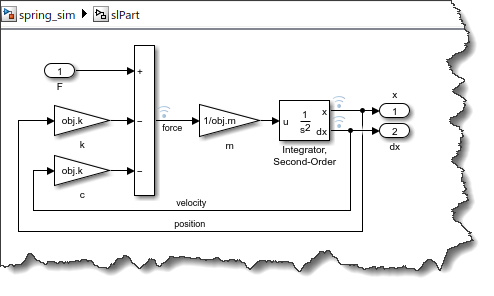
I then instantiate a spring object:
mySpring = springLib.spring
and specify mySpring in the block dialog:

With that set up, I can simulate the model and once the simulation completes, mySpring knows where it has been simulated.
sim('spring_sim');
mySpring.BlockPath
I will leverage this capability in following posts.
Creating Data Variants
The next thing we can do is create a library of springs, like the ones you could buy from the catalog of a company selling springs. They will all use the same algorithm, but with different parameter values. For that, we can use our generic spring class as a template to create multiple subclasses inheriting from the spring superclass.
This can quickly give you a catalog of springs. You can use these springs in all sorts of component models, or share this library of springs with collaborators. Those collaborators pick a spring from the catalog without worrying about the parameters or the algorithm under the mask.

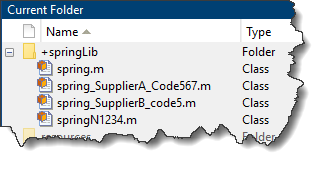
This creates a namespace that enables you to "scan" the catalog using tab-complete:

With this library or catalog of springs, it becomes easy to simulate a model with different parameterizations:
in(1:2) = Simulink.SimulationInput('spring_sim');
in(1) = in(1).setVariable('mySpring',springLib.springN1234);
in(2) = in(2).setVariable('mySpring',springLib.spring_SupplierB_code5);
out = sim(in,'ShowProgress','off');
Now it's your Turn
At this point, it's probably fair to say that I have not introduced anything really game changing. What I did so far is create the foundation of a framework that I will extend in the following posts by adding methods and properties to the slPart class that I created today.
If you have seen a similar framework or if the above gives you ideas on what you would like to see added to it, let me know in the comments below.


评论
要发表评论,请点击 此处 登录到您的 MathWorks 帐户或创建一个新帐户。